
Making a Bookmark
I don't know about you but I love a homemade gift. Not only are they unique but you know that they've had that extra bit of time and effort put into them. What takes it to the next level for me though, is when that homemade gift is from a little one.
When I was a child, I made every birthday and celebration card for my mum and dad. It usually included some form of a cartoon strip that emphasized my dad's love of motorbikes and / or my mum's epic long red / purple / pink hair (she took on a wide variety fantastic shades!). Each card was special in it's own little way and 30 (something) years on, they're still treasured.
I thought I'd re-ignite the children's homemade gift tradition when my son was born. Since first mastering the ability to hold a crayon, he's created lots of artwork that's split between various family and friends homes. I thought that while I'm sharing my own crafting and baking sessions, why not share Bruce's too. Crafting with a child is super simple and the process is just as enjoyable as the end product.
To start this particular crafting post, I do need to say (well....emphasize)….a laminator is key! Back in my day (I've always wanted to say that), no one had one in a family home. I'm not sure even teachers did in the classroom. Although most of my childhood artwork is still with us, it's not in the greatest shape and some did get lost to events such as the dreaded Vimto spillage. If you want to keep your child's pictures, certificates or crafty creations in the best condition they can be, then this little gadget is your new best friend. They aren't expensive (considering they will preserve little treasures for a lifetime) and can be picked up pretty much anywhere. I got mine from a local supermarket (yes, Asda, again) and think it was around £12.99. You can still make these without one but honestly, the purchase is worth it. Now let's get crafting!
What do I need?
- 1 sheet A4 plain white paper
- Pencil
- Ruler
- Crafty accessories - we used pencil crayons, crepe paper and glitter
- Laminator
- 1 laminating pouch
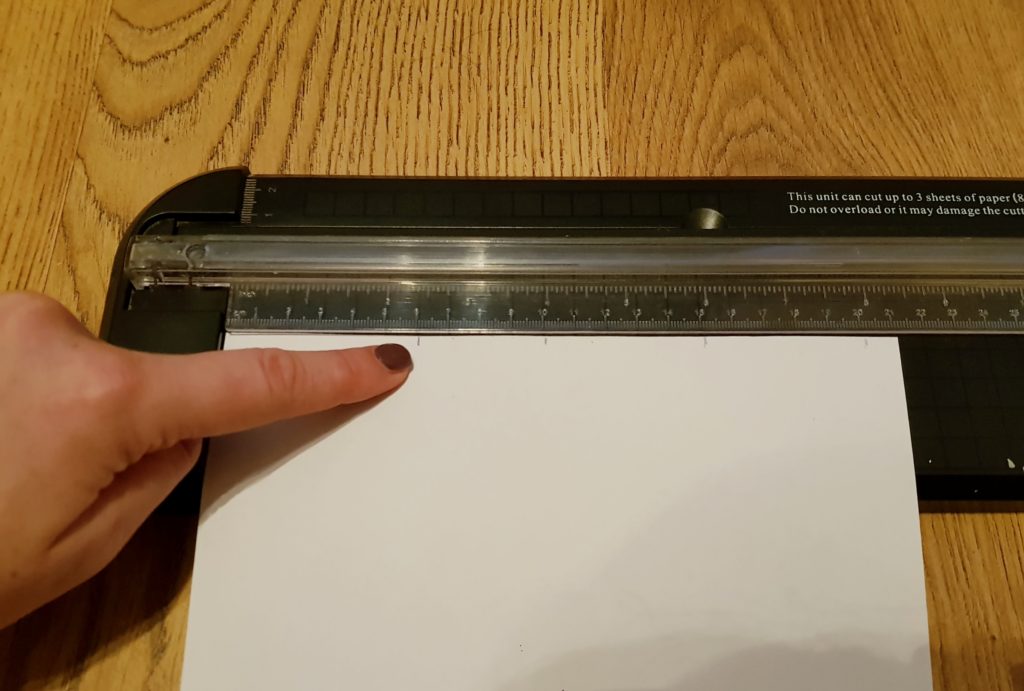
Step 1
Using a guillotine or scissors, cut the paper into 4 equal strips of 20cm x 5cm.
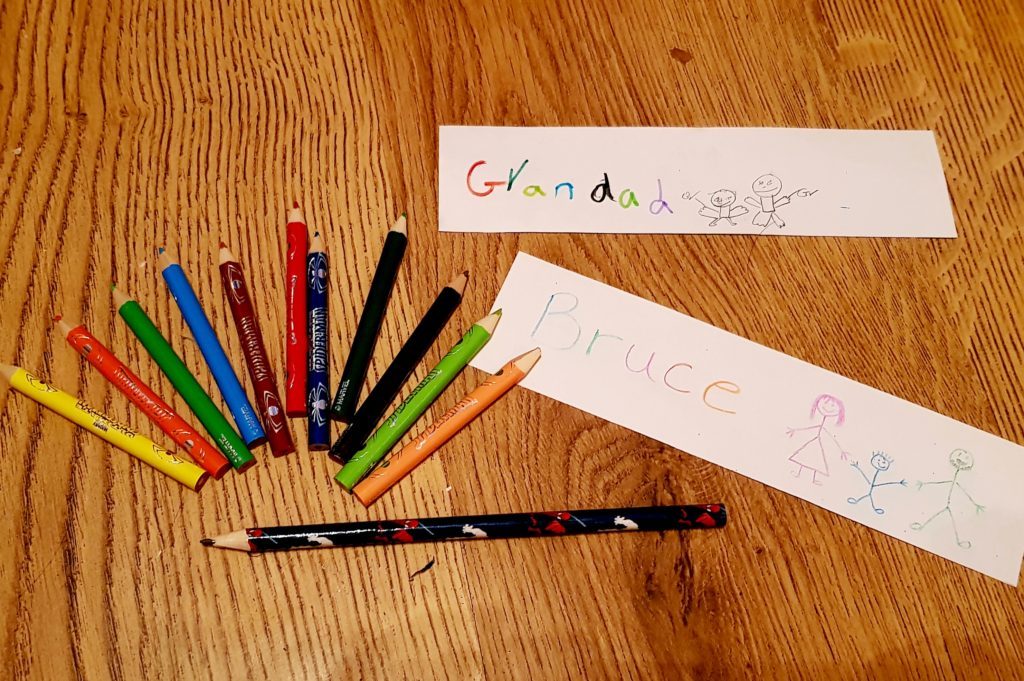
Step 2
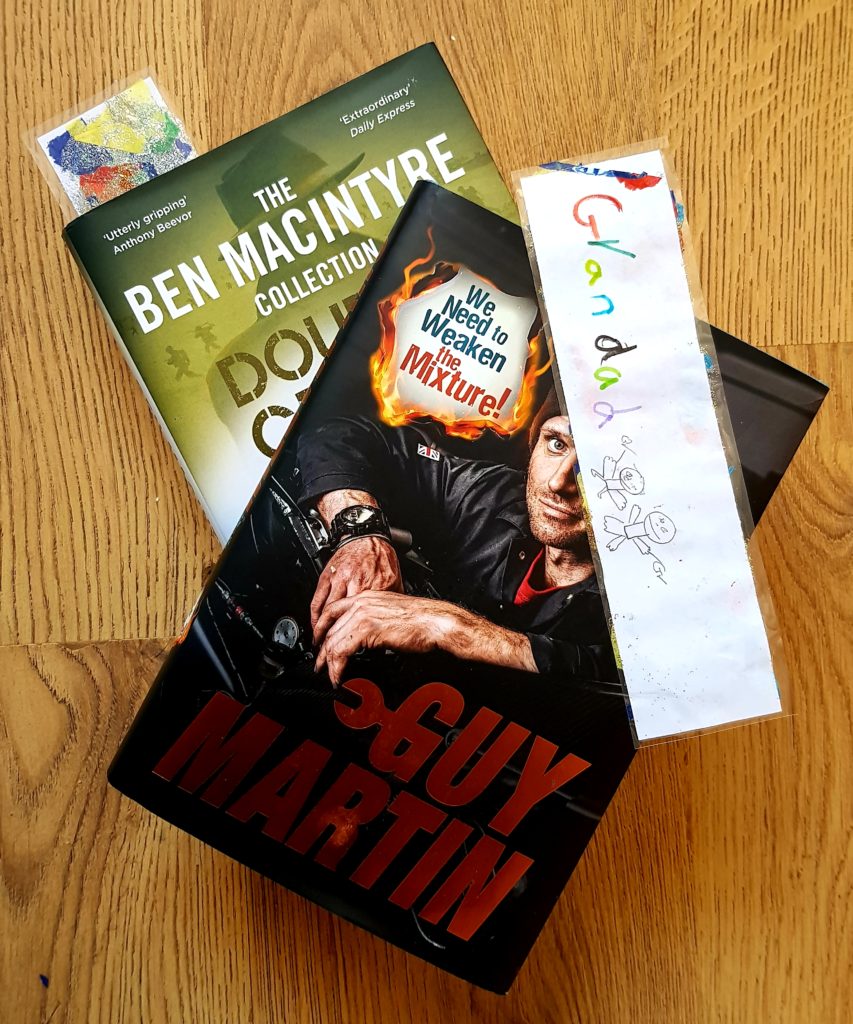
Write the name of the person receiving the bookmark on one side. Alternatively, you might want to write a short quote or a word linked to a specific celebration ('Happy 40th' for example).
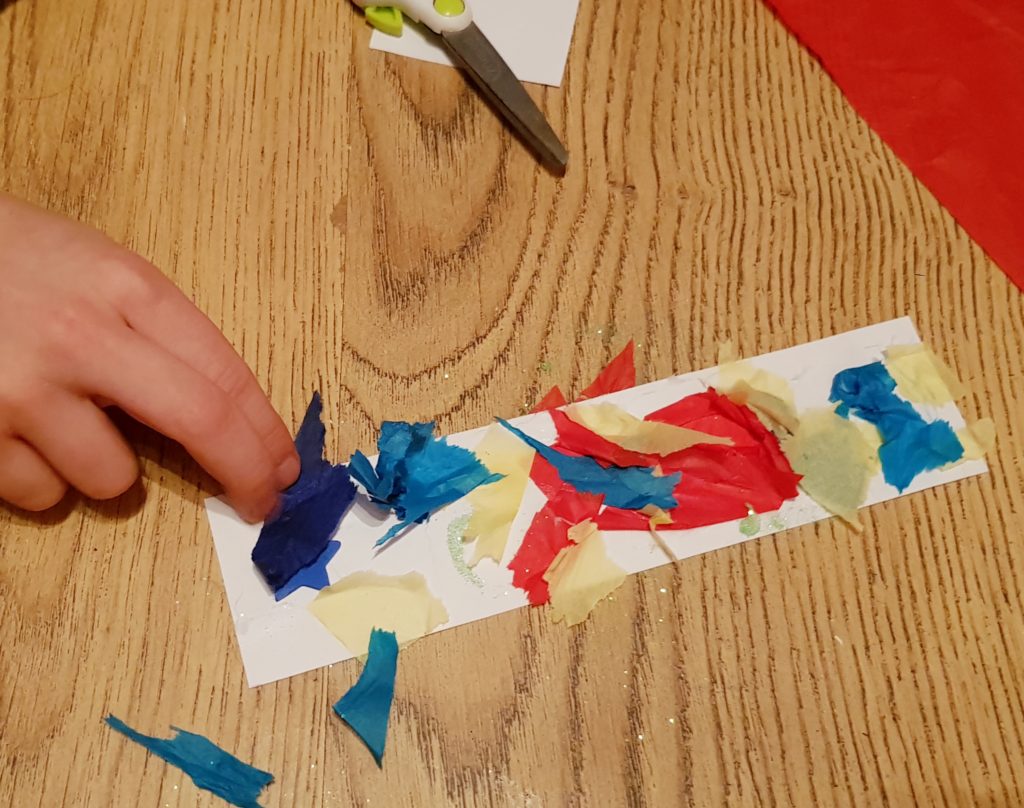
Step 3
Now comes the fun part! Turn the bookmark over and stick, crinkle and glitter to your hearts content. I just let me son's imagination guide him on this part so we ended up with a glitter mountain at one point!
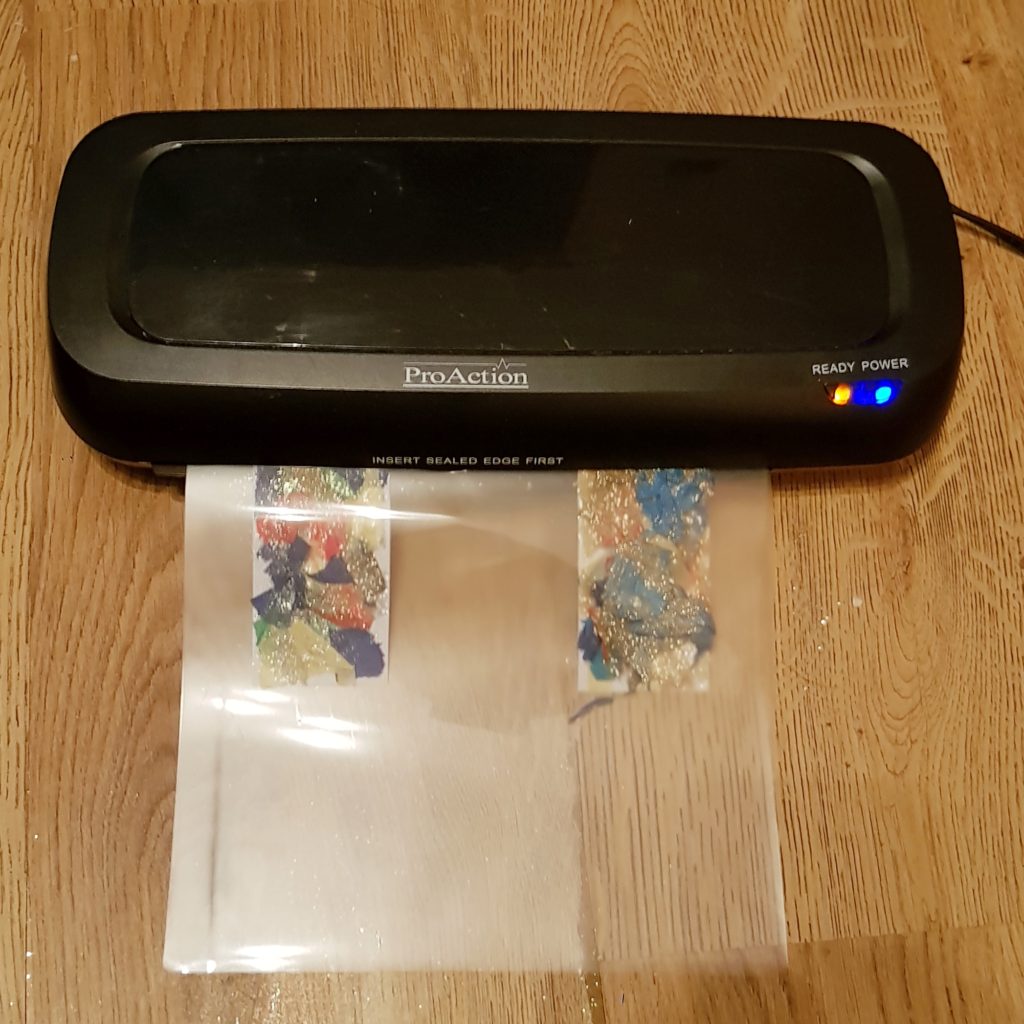
Step 4
The laminator! (I feel that should be said in a really deep voice with an emphasis on the second 'A')
Wait until warm (most have a guide light) then carefully place your bookmark(s) in the laminator pouch and place into the laminator.
Voila!!!
Cut around your bookmark leaving approximately 3mm as a plastic border and your bookmark is complete.
A perfect little gift to give on birthdays, Mothers / Fathers Day or Christmas. (I've already dropped a hint for mine for mothers day hehe!)
Happy crafting!


